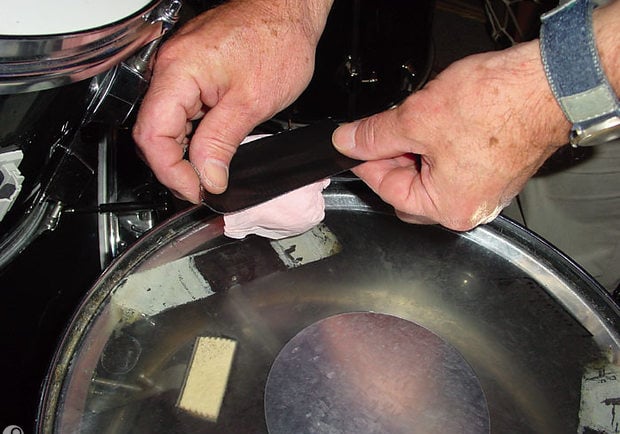
Quick Fix for Drum Ring
Quick Fix for Drum Ring


Have you ever recorded drums only to find an annoying ringing sound that disrupts the mix? Don’t worry—you’re not alone! Drum ring is a common issue that can occur due to vibration, mic bleed, and resonance across the drum kit. The good news is that there’s a simple and effective way to tackle this problem using subtractive EQ. Let’s break it down step-by-step so you can clean up your drum sound and take your mixes to the next level. 🎶
Why Does Drum Ring Happen?
Drum ring typically occurs when the vibrations from a drum hit resonate into other microphones within the kit. For example, hitting the snare or bass drum might cause the toms to vibrate, creating unwanted ringing or “boing” sounds. While drum resonance can sometimes add character to your sound, in most cases, it interferes with the clarity of your mix. This is especially true if the ringing bleeds into other mics, making your recording feel cluttered and messy.
The solution? Subtractive EQ. This technique allows you to isolate and reduce the problem frequencies causing the ring without affecting the overall tone of your drums.
Step-by-Step: How to Use Subtractive EQ to Fix Drum Ring
Here’s a quick and easy method to pinpoint and eliminate drum ring using Pro Tools’ stock EQ (or any other EQ plugin):
Step 1: Play back the track where you hear the drum ring. Focus on identifying the specific drum that’s causing the issue (e.g., the toms).
Step 2: Open your EQ plugin. In Pro Tools, you can use the stock EQ for this purpose.
Step 3: Use the control + shift combo (or your plugin’s equivalent) to adjust the EQ bands. This will allow you to sweep through and pinpoint the exact frequency of the ring.
Step 4: Once you’ve found the problem frequency (listen for the “boing” sound), reduce it by lowering the gain on that frequency band.
Step 5: Fine-tune the adjustment to ensure the ring is gone without altering the natural tone of the drum.
Step 6: A/B the change by bypassing the EQ on and off to hear the difference. This ensures you’ve addressed the problem without negatively impacting the drum’s sound.
And that’s it! You’ve just removed the drum ring and cleaned up your mix in no time.
Watch video here on removing drum ring: https://youtu.be/LbEA0n0-hpI
When to Leave It Alone
It’s important to note that not all drum resonance is bad. As the saying goes, “Drums make noise, and noise is music.” If the ring complements the overall tone and vibe of your track, you might want to leave it as is. However, if it’s distracting or interfering with other elements of your mix, this subtractive EQ method is the perfect solution.
Tips for a Cleaner Drum Mix
Here are a few additional tips to help you achieve a more professional drum sound:
Always start with proper drum tuning before recording. This minimizes unwanted resonance from the start.
Use high-quality microphones and placement techniques to reduce bleed between drums.
Apply EQ sparingly—only address problem areas without over-processing your sound.
Test your adjustments on the full drum kit mix to ensure consistency across all tracks.
By combining solid recording techniques with post-production tools like EQ, you’ll be able to create drum tracks that sound tight and professional.
Final Thoughts
Dealing with drum ring doesn’t have to be frustrating. With a little patience and the magic of subtractive EQ, you can easily eliminate unwanted resonance and get your mixes sounding cleaner and more polished. Now that you’ve mastered this technique, it’s time to apply it to your next drum recording session!
Have fun making noise, and remember: music is all about experimenting and finding what works for you. Got questions or tips of your own for mixing drums? Share them in the comments below! 🎤
