
Fix Bad Snare Drum Sounds FAST (No Plugins Needed!)’
Blog post description.
Are your snare drum recordings sounding flat and lifeless? Don’t worry—you don’t need fancy plugins or pricey equipment to make them pop. Today, I’m sharing a simple, step-by-step method to bring vibrancy and life to your snare drum sounds using only basic tools. Whether you’re a beginner or an experienced music producer, this technique will save the day (and your mix)! Let’s dive in. 😊
Step 1: Assess Your Snare Drum Sound
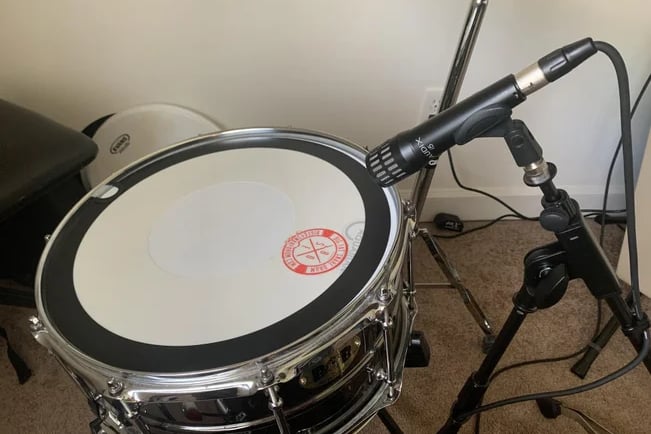
Before making any changes, listen to your existing snare drum sound. Solo the snare drum track and critically analyze its tone. Does it sound dull, flat, or like it’s missing something? Play the snare with other instruments like the bass guitar and guitar to hear how it fits in the mix. This gives you a good baseline to compare your improvements.
Watch video here: Fix Bad Snare Drum Sounds FAST (No Plugins Needed!)’
Step 2: Grab a Sample That Complements Your Snare
The next step is finding a sample that enhances your original snare. Maybe your snare could use more crack or low-end punch. Choose a sample that complements what’s missing.
Here’s how to select and copy your sample:
Activate the hand tool or smart tool in your DAW (Digital Audio Workstation).
Click on your sample and press Command+C to copy it.
Use the “Tab to Transients” feature to align the sample with your snare hits.
Press Semicolon to move the cursor down to the snare track and paste the sample using Command+V.
Step 3: Layer and Align Samples Like a Pro
Now it’s time to apply the sample repeatedly across your snare hits. This might sound tedious, but with practice, it becomes second nature:
Tab to the next snare hit and paste the sample using the same Tab + Semicolon + Command+V method.
Quick tip: Use the P key to move back up to the original snare track, making the process faster.
Repeat this process for every snare hit in the track.
If you want to experiment further, you can even add multiple samples to layer different textures and tones. For instance, one sample can add brightness, while another adds depth or a subtle reverb tail.
Step 4: Blend and Adjust for a Polished Sound
Once all the samples are in place, it’s time to balance their volumes. Bring up your mixing board and adjust the fader of your sample tracks. Blend them with the original snare until you achieve the desired sound. 🌟
For example, you might use one bright sample and one darker sample to create a fuller, more dynamic snare. Even if a sample sounds odd on its own (like one with excessive reverb), it might blend perfectly within the full mix.
The Final Result: A Snare Drum That Pops
After layering and blending, listen to the transformation! Play the snare with the full track and hear how much better it sounds. Without using EQ, compression, or expensive tools, you’ve managed to breathe new life into your snare drum. 🎶
Why This Technique Works
This method works because it integrates complementary sounds into your existing snare track, enhancing its character without altering its essence. By layering carefully chosen samples, you can solve common issues like dullness or lack of punch without needing extra plugins or spending money. Plus, it’s entirely customizable to your musical style and preferences.
Try It Yourself!
If you’ve been struggling with a “sucky” snare drum sound, give this technique a try. It’s quick, easy, and doesn’t cost a dime. Experiment with different samples and blending techniques to find what works best for your mix.